Let’s talk about bread for a second. I love bread – any type of bread! I’m a fan of everything from white loaf bread to cinnamon rolls. Really though, who doesn’t love bread, right?!
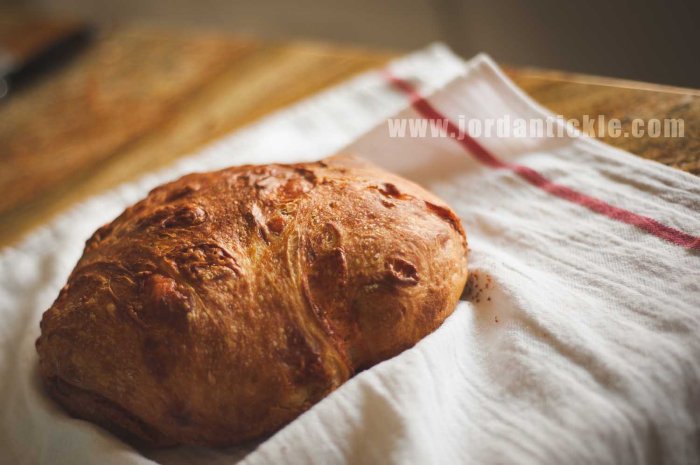
Well one of my very favorite types of breads are those artisan loaves that you only see at specialty stores, like Panera, and on those fancy cooking shows on television. Literally, I adore breads like this with that distinct yeast flavor, crispy crust and soft interior that melts in your mouth, but I just don’t like the fact of having to pay upwards of $10 per loaf. I mean, when you’re feeding friends and a family of 4-5 you just can’t swing that much money on bread.
Have no fear and look no further: I have found one of THE best bread recipes I’ve ever tasted! I must admit that the recipe is not mine and I didn’t test this one a million times to perfect it… Good ol’ Marth Stewart did. Just the same, when I find a phenomenal recipe (especially one that is easy to make) I like to share it so that others can experience it too! If you want to read her version it’s here, Olive Cheese Loaf, but I pride myself in explaining things better than most – so here’s the “Jordan Tickle Version.” ha ha!
The World’s BEST Artisan Bread
3 c. All-Purpose Bread flour (I used King Arthur)
3/4 tsp. Active, Dry yeast
1 tsp. Salt
1 1/4 c. Grated cheese (I used Jarlesberg)
1 1/3 – 1 1/2 c. water
Place all of the ingredients in a bowl and stir together. It will be a pretty sticky dough, but that’s what you’re going for. (Start with 1 1/3 c. of the water and add a little more if it feels too dry) After mixing it all together, scrape the sides of the bowl. Cover the dough with plastic wrap and let it set at room temperature for 12-18 hours. YES! Twelve to eighteen hours. I know, that’s a TON of time, but that’s what it takes to develop that distinctive yeast flavor and build the right amount of gluten for the texture we love.
After the 12-18 hour wait (literally anytime between the 12-18 hour time is fine. I let mine rest for like 13 hours because I was so anxious to bake it. lol) pull it out of the bowl and knead it lightly with flour. Turn the edges to the bottom, creating a smooth loaf, and place on a piece of parchment or wax paper that has been floured well. Dust the top lightly with a little more flour and cover with another piece of wax paper. Make sure that the dough is covered (loosely) so that almost no air is getting to it. (You can cover the wax paper with a tea towel to weigh the edges down a bit) After about 2 hours the dough will have doubled in size. To see if it’s ready to bake, lightly press the dough. If it springs back, give it another 15 minutes to rest. Once your finger indention holds then you’re ready to bake.
Here’s where the fun part comes in – this is how we get that AHHHHH-MAZING crisp crust!
You need to use a cast-iron or enamel coated cast-iron dutch oven for this – it’s beyond imperative.
Pre-heat your oven to 475 (or 450 convection). Place the bottom half of the pot in the oven about ten minutes before you want to bake the loaf. Once the loaf is ready, pull the pot out of the oven and carefully pick the dough up and drop it into the pot. Try to place it carefully, but be careful not to burn your hands. (Don’t worry if it lands a little weird, it will fix itself – trust me!) Once the dough is in the pot, place the lid on, and put back into the oven. (Oh! If the handle on your lid is anything other than SOLID metal or cast-iron, be sure to remove it. 40 minutes at 475 will melt even the strongest of plastics) Place the loaf in the oven, with the lid on, for 25 minutes. After the first 25 minutes, pull the lid off and continue to bake for 15-30 minutes. Keep a check after about 15 minutes to make sure you pull the bread out when it get’s that beautiful, golden brown.
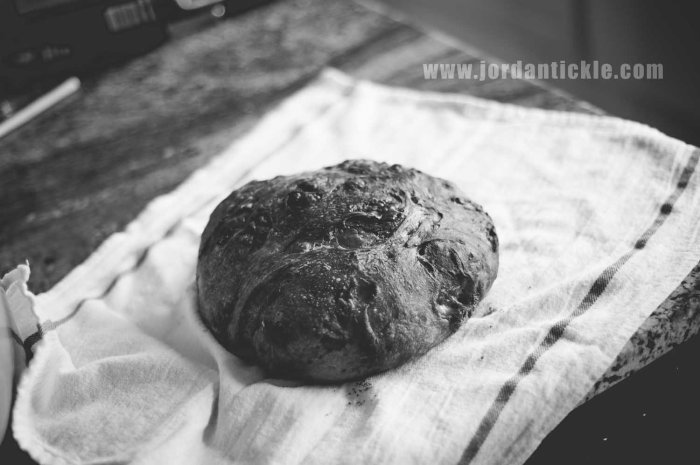
Let the bread rest for just a few minutes and then turn it out onto a rack. Feel free to let it cool, but I promise you’ll be dying to cut into it – just like I did. I can’t lie… Between my parents, my fiancé and her best friend, we had the whole loaf gone within 2 hours! It’s seriously THAT good!
Alright – now some things to think about. Martha uses Gruyere cheese and olives. I don’t like Olives and I’ve never tried Gruyere, plus it’s pretty pricey. I used Jarlesberg and it was GREAT! Another thing is that Martha says to cube your cheese – which I did – but I think I’d prefer to have it grated. Feel free to decide on your own. My next step is to experiment with this recipe by adding dried herbs, mushrooms, sun-dried tomatoes, etc. I think this might become my new obsession.
So – give this recipe a try! I assure you that it’s as easy as it sounds and it’s even better than it looks!


